Over the last year and a half, I’ve had a lot of free time, I think everyone else has too. During that free time, I never stopped thinking of new ideas for projects I wanted to do, and I have countless folders of research, reference pictures, written procedures, material lists, and in some cases a collection of items to get something started, but not the materials to finish it. It’s felt like all this work has been going on inside my head with no physical proof of my thinking, and without sufficient funds or access to required studio spaces with skilled professionals to help me construct some of these bigger and more intricate projects due to the pandemic, I’ve been kind of stuck. Until the other when my dad said to me, “why don’t you just write about these projects and show your thinking?” That idea was genius, so I’m going to do that now. Here are a few projects that I would love to do if I had access to the things needed to complete them and how I would go about it.
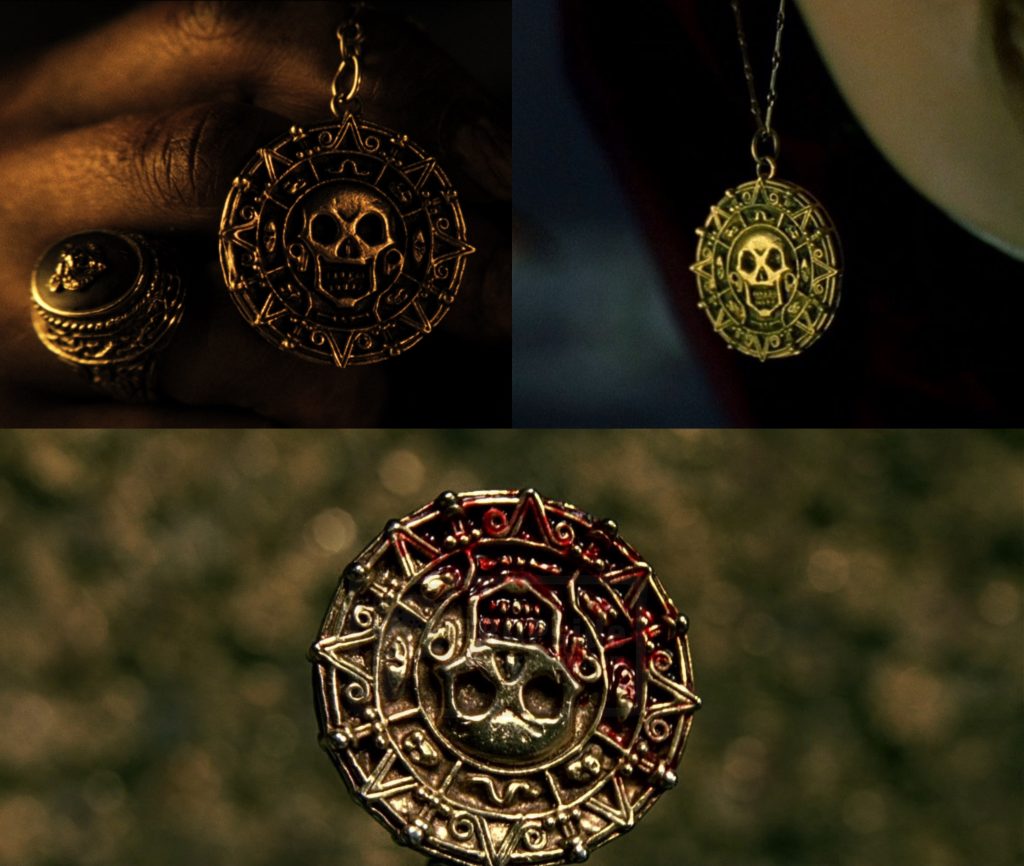
Cursed Aztec Medallion from Pirates of the Caribbean: Curse of the Black Pearl (2003)
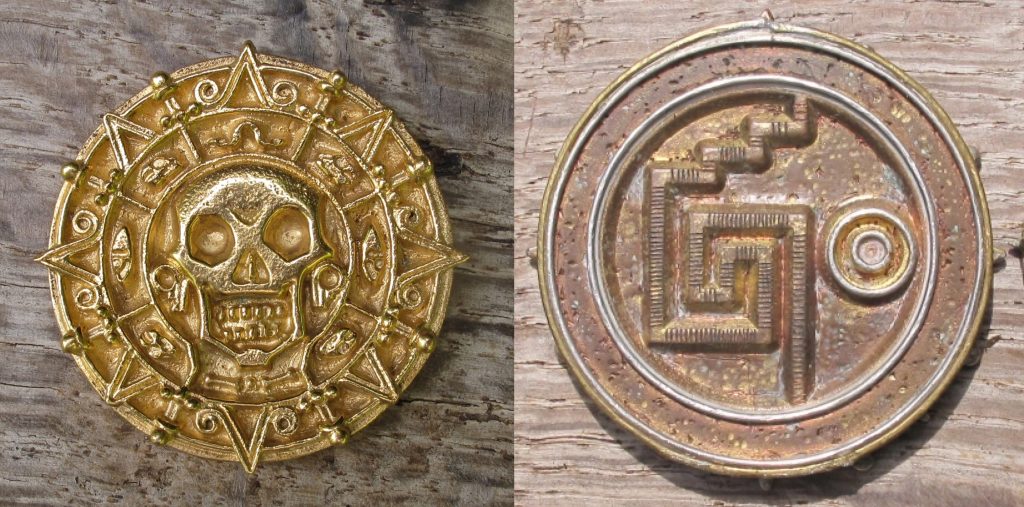
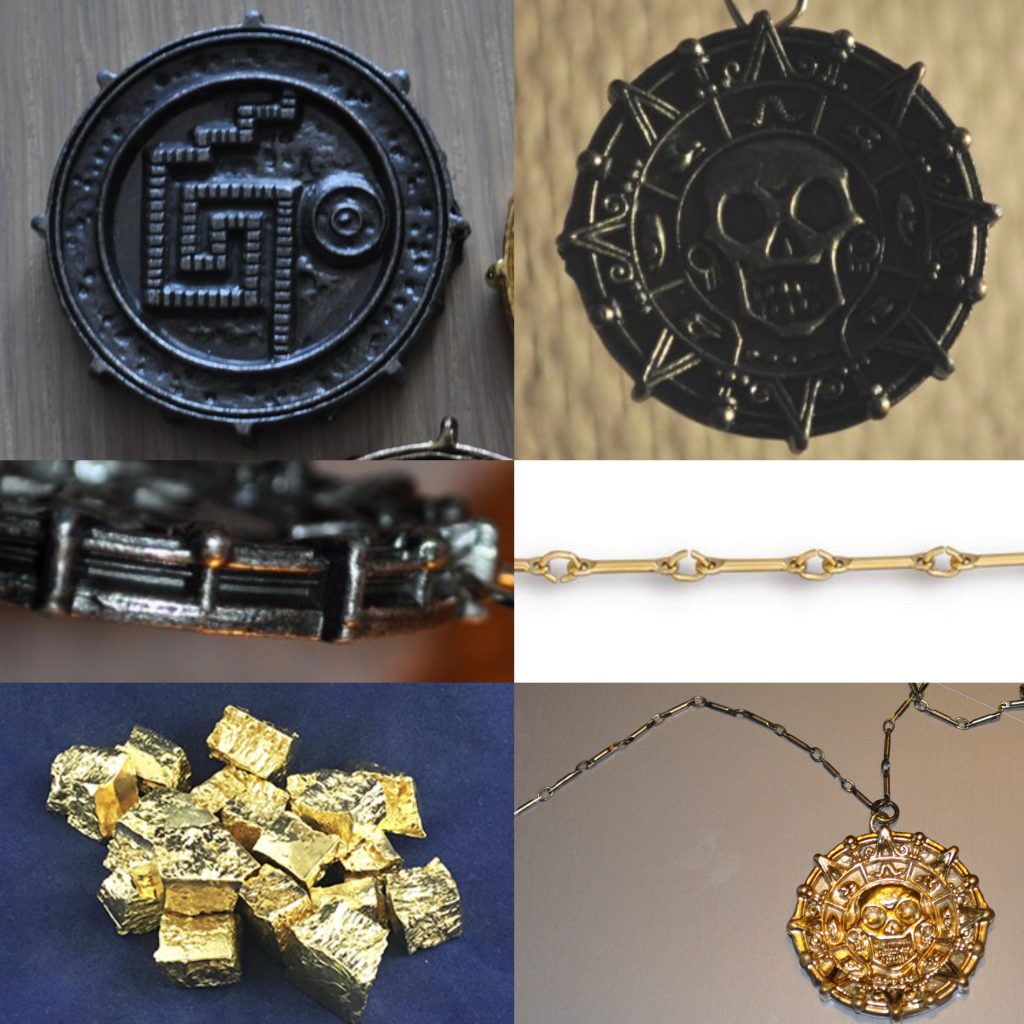
This is a small prop I’ve been researching for a while now ever since I did my yearly re watch of the Pirates movies, and it’s one I’ve never really seen done true justice. Replicas made back in the day are too rounded off and bulbous and lack that crisp defined detail, and other more defined replicas still intentionally omit details to keep costs down. In Seattle we have an art school called Pratt Fine Arts Center that does, well, fine arts, including classes bronze casting and mold making by professionals. I thought this would be a perfect fit, use their tools and knowledge of the craft to cast a few replicas exactly like they did for the production using a nice golden brass to achieve an awesome replica. Things were going great at the start, I found a really nice replica of the Aztec gold piece that had clearly defined details on all surfaces, even the sides, and looked extremely movie accurate. (Funnily enough, this replica is actually from a Pirates themed checkers game using the coins as game pieces, but it is an incredible piece.) I was able to find a very close, possibly identical match to the chain used in the film, and ended up finding a metal commonly used for castings called jewelers manganese bronze that checked off all the boxes for the process. Online there is only so much you can learn about the metal casting and mold making process, and to me it became clear that the best way to work on this would be to go to a professional and be taught the process first hand, and with a most likely corona free summer coming up at the time I was researching this, I was thinking it would be a great time to reach out and ask the school what they thought of the idea. But when I emailed Pratt, they had unfortunate news. The foundry was broken and in need of repairs which would take a little under a year to complete, and they exclusively melt bronze in their foundries. Considering how specific and niche this project is, that was quite a blow, and from here I have no idea what to do with it. I would love to make a series of them and cover some of the different variations of the prop we see in different scenes throughout the film, hopefully offering them to fellow fans on the Replica Prop Forum, but until I can find another studio space that offers metal casting and mold making classes that fit the requirements for the build, it’s unfortunately on pause.
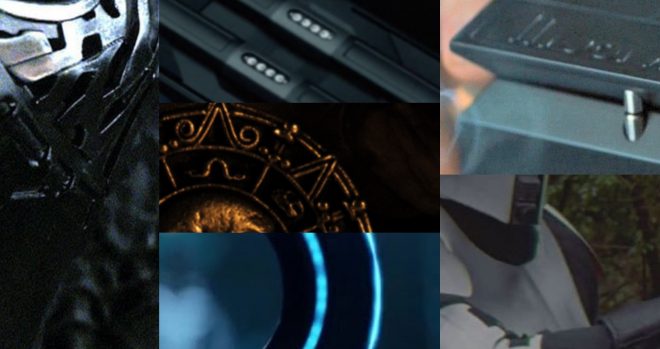
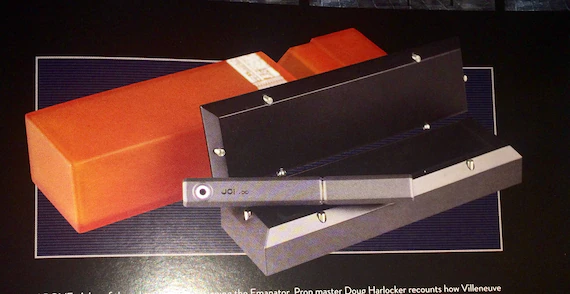
JOi Emanator from Blade Runner: 2049 (2017)
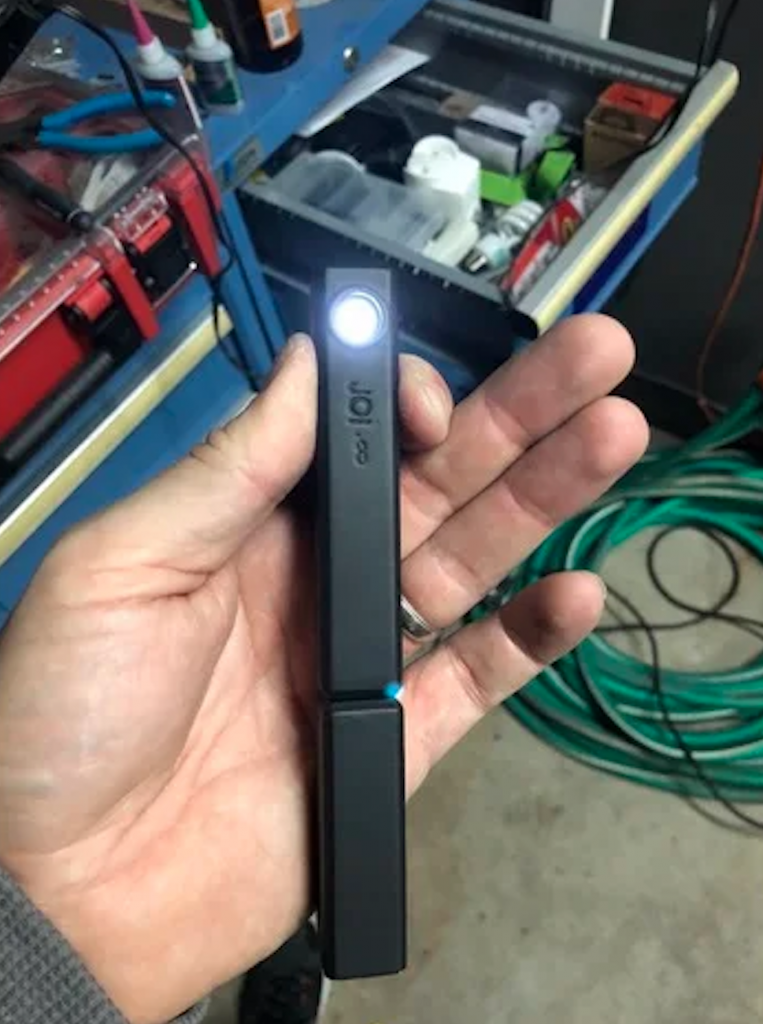
Ever since December 2017 I’ve wanted this prop, what can I say. They never really made officially licensed replicas for this film, and that’s a real shame, but it has led to some of the most incredible fan creations I’ve ever seen, and an ongoing project I have been watching on the Replica Prop Forum is this emanator. It’s the size of a very thick fountain pen and is extremely simple; a round ring of light at the top, all black except a bar of solid silver that gets exposed when the prop is extended, and the most challenging part, a sound for activation and deactivation. Now, people immediately were able to make 3D models based off several closeup images from the film and add a single on/off switch and LED inside the top, but getting a speaker, soundboard, batteries, a switch, and the LED inside is the trick, and then making the batteries replaceable or rechargeable somehow. Now, on set, the prop was exactly what people on the RPF have replicated, a simple click to turn a light on and off, and that’s it. Easy to operate, easy to fix, and simple to engineer and understand. Every sound was added in post along with other environmental sound scapes and visual effects, but with this prop I would want to get what we see from the final film, that click, the light goes on, and you hear that upbeat orchestral music, maybe add in some of JOi’s lines from the film, and a few other features to really make it feel like what were missing with no official replica, and that is a real challenge to be sure. I’ve looked around at things and seem some smartphone speakers that may do the job, and a couple types of Arduino boards can fit in the exceptionally limited space, but considering I have very little experience with electronics, I say this is a project to do after I’ve learned more about soldering and programing. I might be able to at least do the 3D printing and finishing of the prop and its box in the meantime, though.
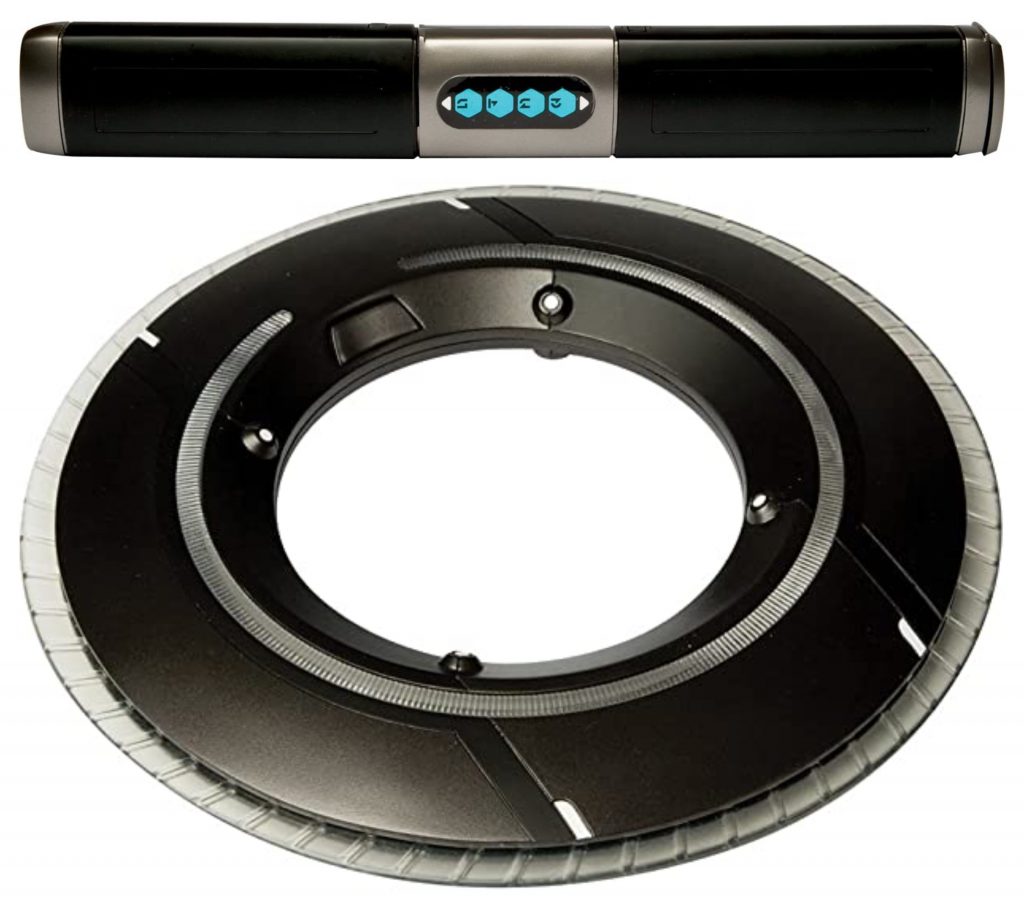
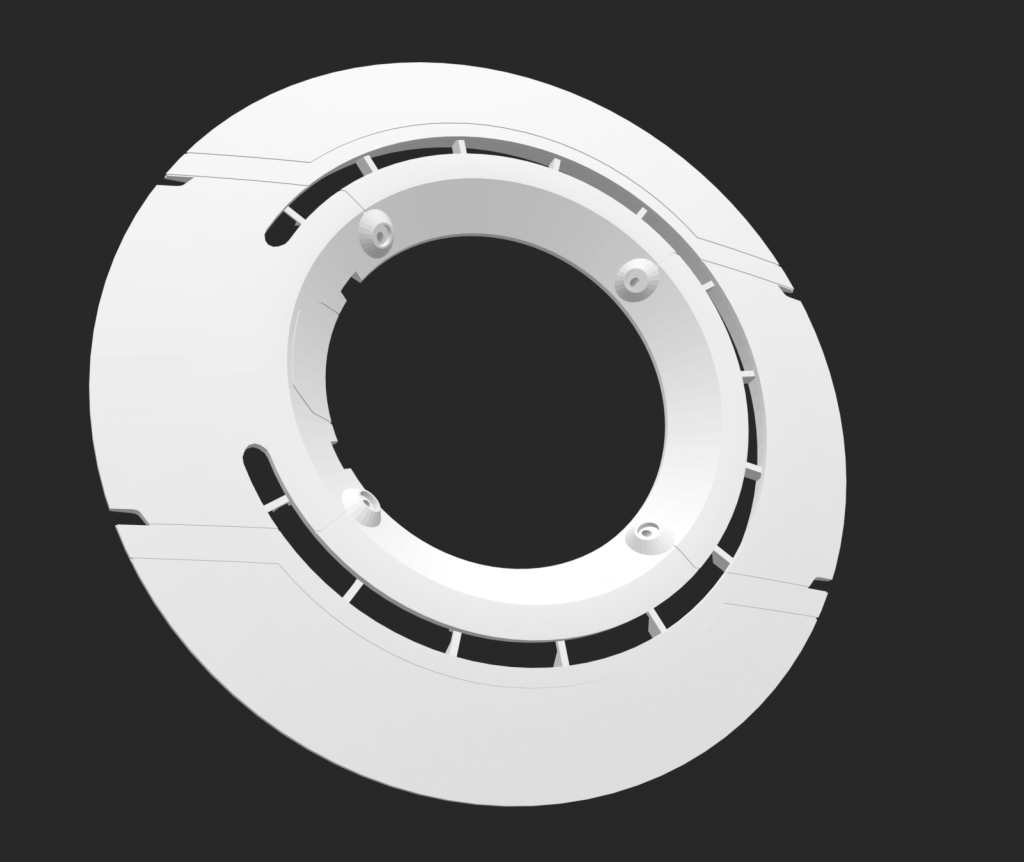
Identity Disc and Baton from TRON: Legacy (2010)
The same things that have held me from fully pursuing the JOi emanator are the same things that have held me from doing these two props. The props and costumes from TRON: Legacy have DEFINITELY had a huge impact on me and I’ve always wanted to have these two props replicated as close to the “real” thing as possible. Of course just like the emanator, besides a couple lights and switches, the majority of the effects were done in post, but with things like Neopixel LEDs, effects like unstable rings of blinding light are much easier to achieve now. This is another one that could be 3D printed, but figuring out how to program the light effects and correlating sounds is a challenge. Things like having the inner ring on with no sound and being able to turn on the outer unstable ring and hear the activation sound while seeing those two distinctive flashes of the activation, plus a motion sensor for swings, clashes, and everything else, all effecting the light. (same with the baton, just with motorcycle sounds and correlating light effects) I’ve seen a YouTube video of someone who used the CFX lightsaber soundboard to achieve this and it turned out great, but I feel like I haven’t done enough electronics work yet to get to that point of altering the programing to that level. I also haven’t done enough with my 3D printer to achieve that flawless print quality I would want with these props and the emanator which I find to be a staple of the design. All in all, if I get this working, I would for sure want to go for Rinzler’s disk that splits in half for a real challenge. All the same issues, half the working space.
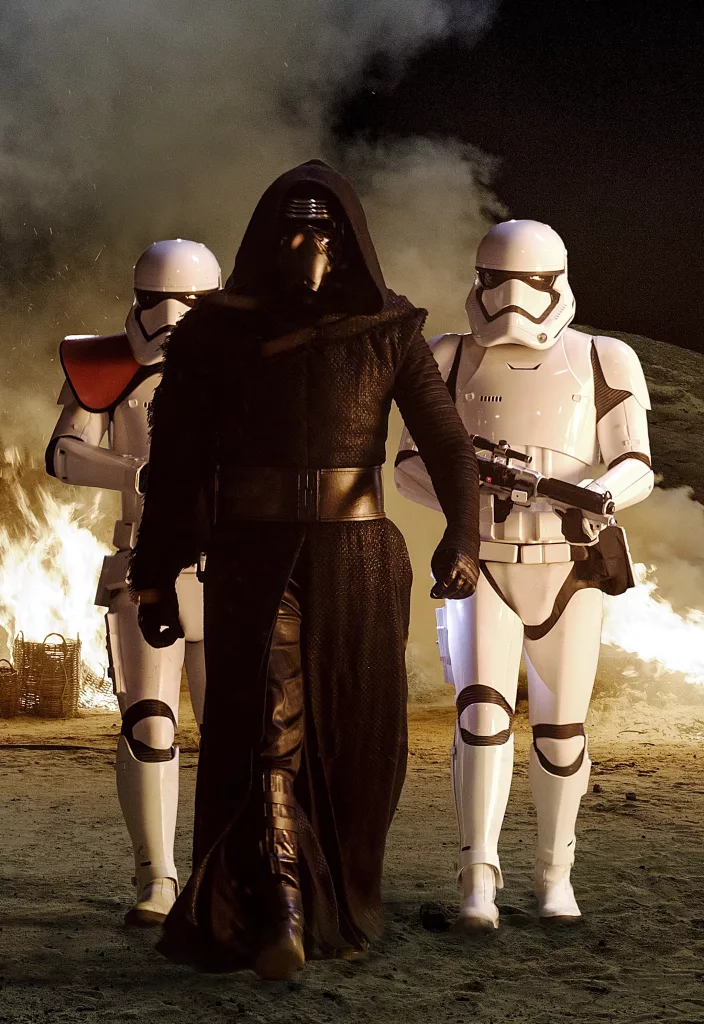
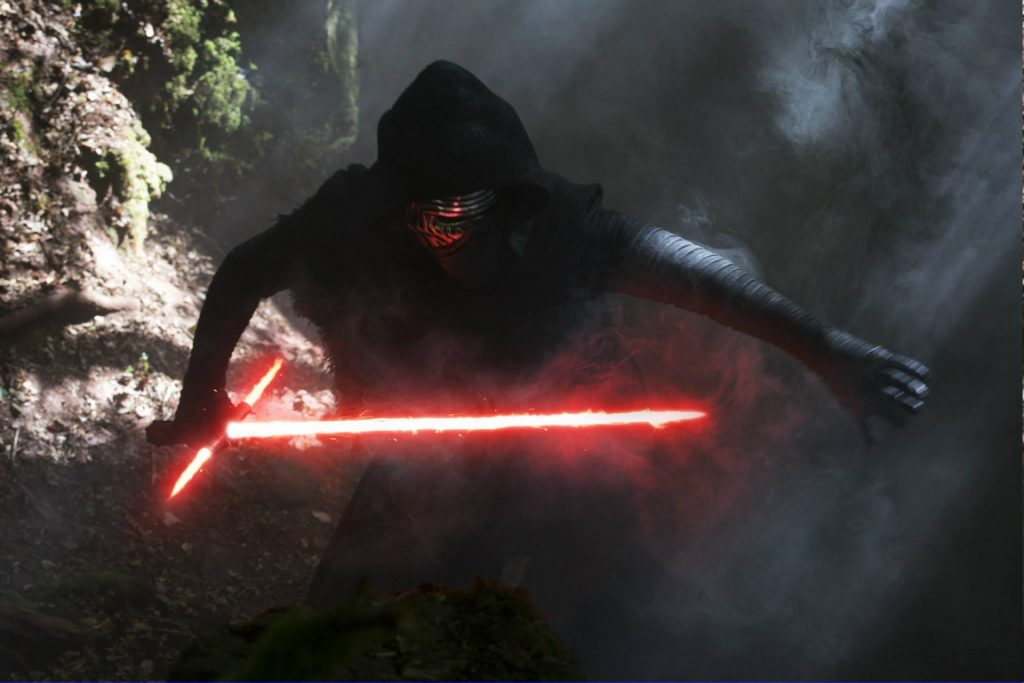
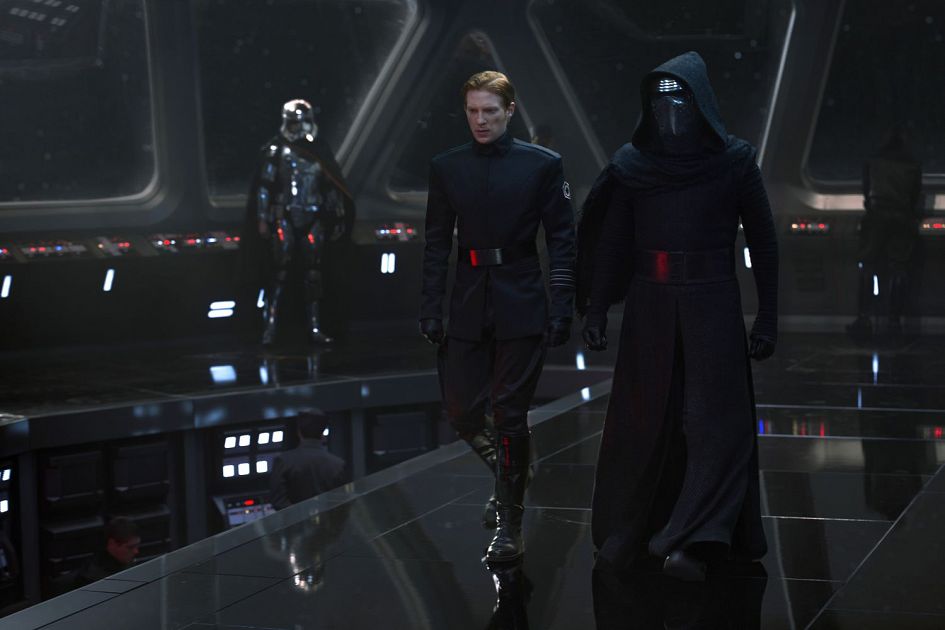
Kylo Ren’s Robes, Cloak, and Helmet from Star Wars: The Force Awakens (2015)
This is a money issue and an experience one. And a body one as well. This may be my favorite costume of all time. The line work, the details, the textures, the richness, the weathering, it all has something to say and you can just tell they made thousands of small and large revisions to get to where they ended up. With a 3D printer the helmet is relatively straight forward, it just requires a good good chrome paint for the eye and cheek details and some kind of textured paint to go underneath the black top coat around the entirety of the helmet. This became a real project for me after I came across a fabric company called Yaya Han, which makes cosplay fabrics, and they manufacture one that follows a similar pattern to Kylo’s cloak and tabard in Force Awakens. I have aways intensely loved the physicality of Kylo Ren and find Adam Driver’s balance between the minuscule movements of his helmet and hands and large striking fighting stances to be incredibly griping, and looking at the simplicity of the costume I thought to myself, “Hey, why not go for this?” Money. Fabric is expensive, and it turns out Kylo has a TON of layers, like six or seven total, and like everything else, I want to make the best project possible, which means the best fabrics. And while the shapes and techniques are simple, they are also EXTREMELY precise, there is almost no room for error here, you do it right or you start all over and blow $150, and with my limited patience and mostly inconsistent sewing work, that’s an issue. Plus with the way my body is right now, I don’t know how I would feel even if it was perfect. Kylo’s physical presence is something I would want to absolutely NAIL, and I feel part of that is being a bit slimmer around the waist than I am now. Both me and Adam are wide shouldered and big breasted guys which is a positive, but I do still feel I have some weight to work off before taking measurements and making the whole thing in it’s final form.
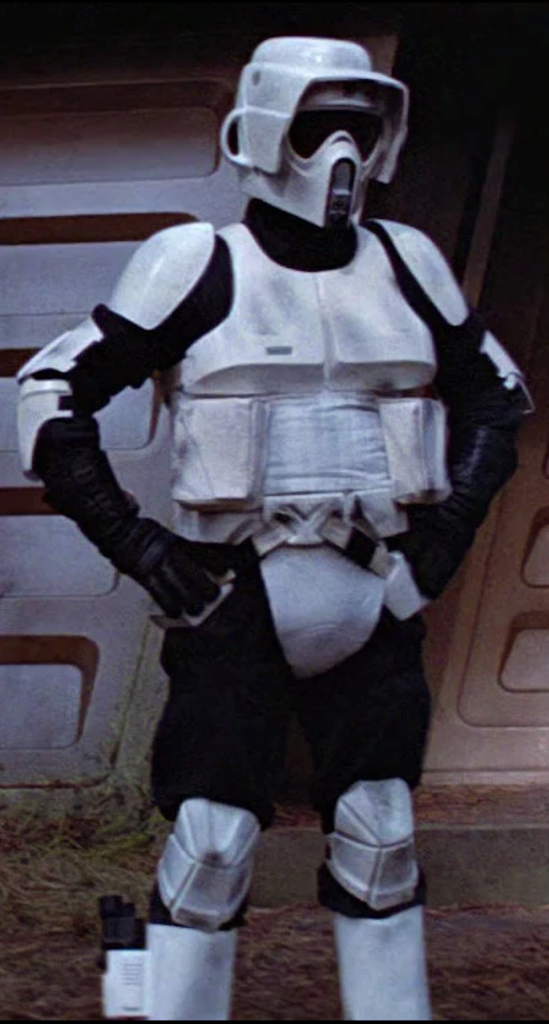
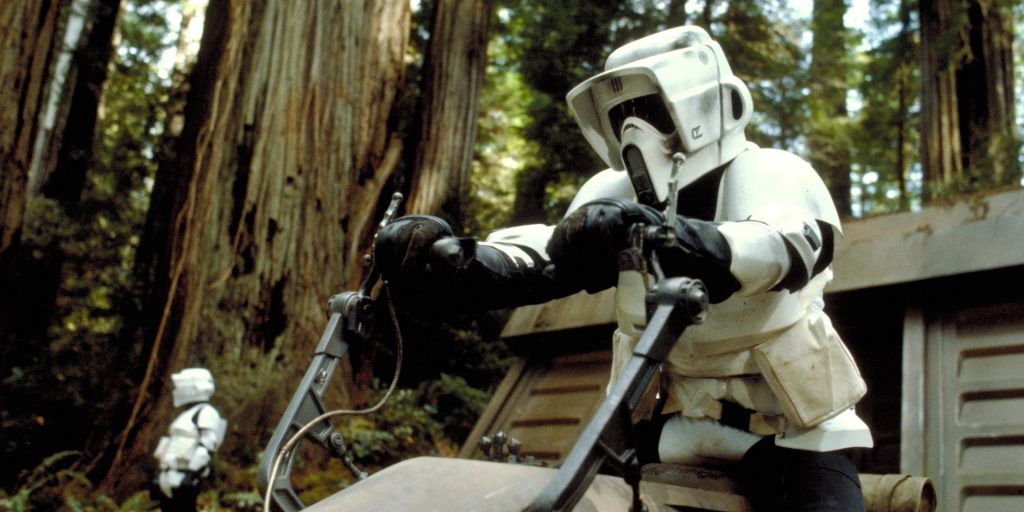
Scout Trooper Armor from Star Wars: Return of the Jedi (1983)
Now this is one that could compliment my current body type no question. Another dream of mine I just recently started researching, and it mostly checks out, but is still complex in terms of sewing detail, fabrics, and the unusual chest armor. Sizing a 3D print to my body is a thing I don’t have much experience with, and the chest armor here wraps around in a strange way that just says trouble to me if done wrong. The larger simplistic shapes and surfaces here seem like a good fit for sanding and finishing work on 3D prints which is a positive, but still takes a wealth of tools and materials to achieve the desired finish. If I had armor like this, I would probably want to enter the 501st or something like it just to have fun and use it for a purpose, but the costume rules can range from completely reasonable to so picky it’s unfunny, and some guidelines for the Scout Troopers are on the ladder. Waxed cotton is required for the belt pouches and a few other soft good parts, and I can’t find it anywhere, not to mention a slew of other small requirements that are holding it back for me. I need to decide what I want it to be used for and go from there, and figure out if 3D printing is the best option for the armor parts.

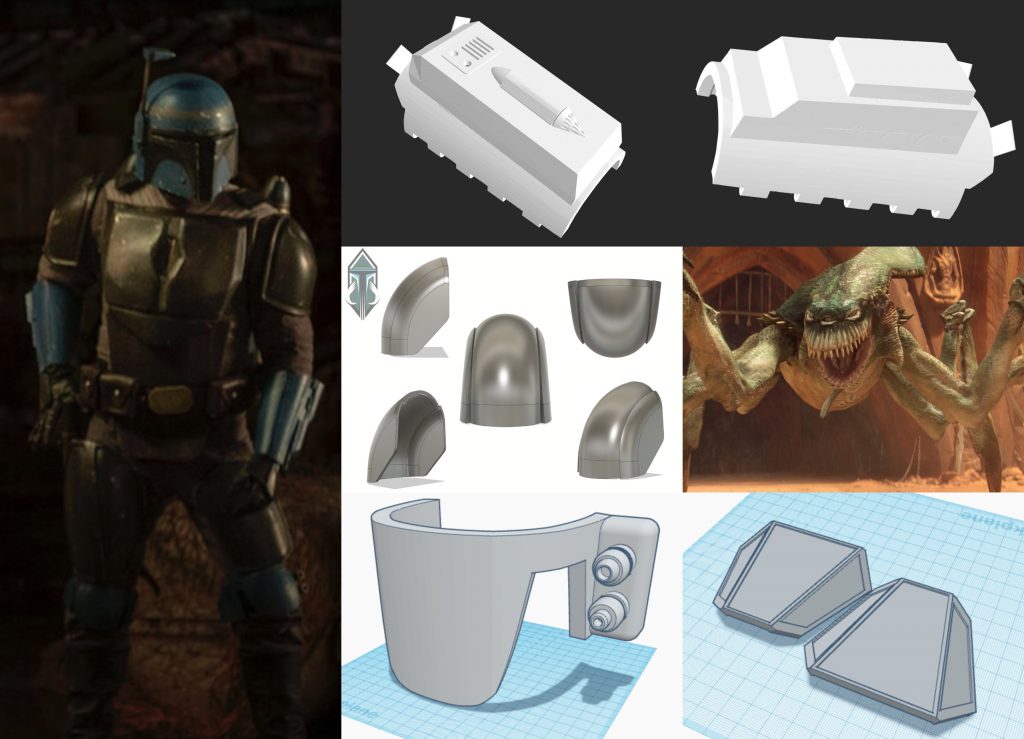
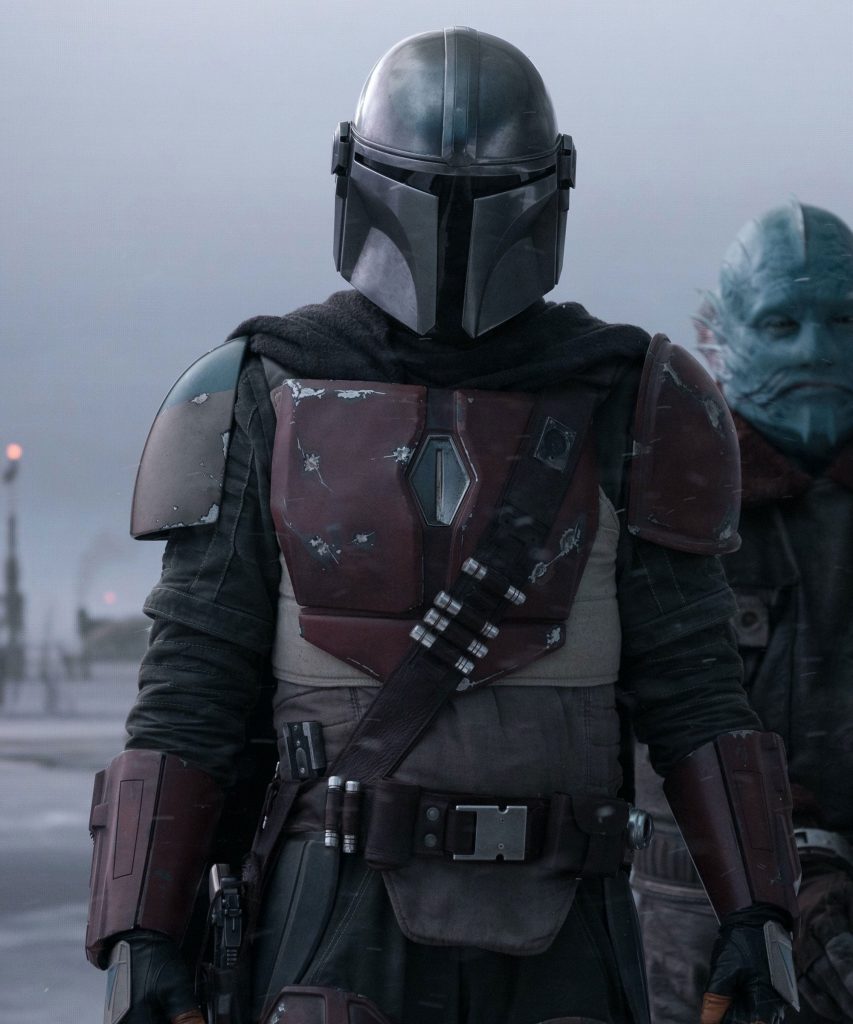
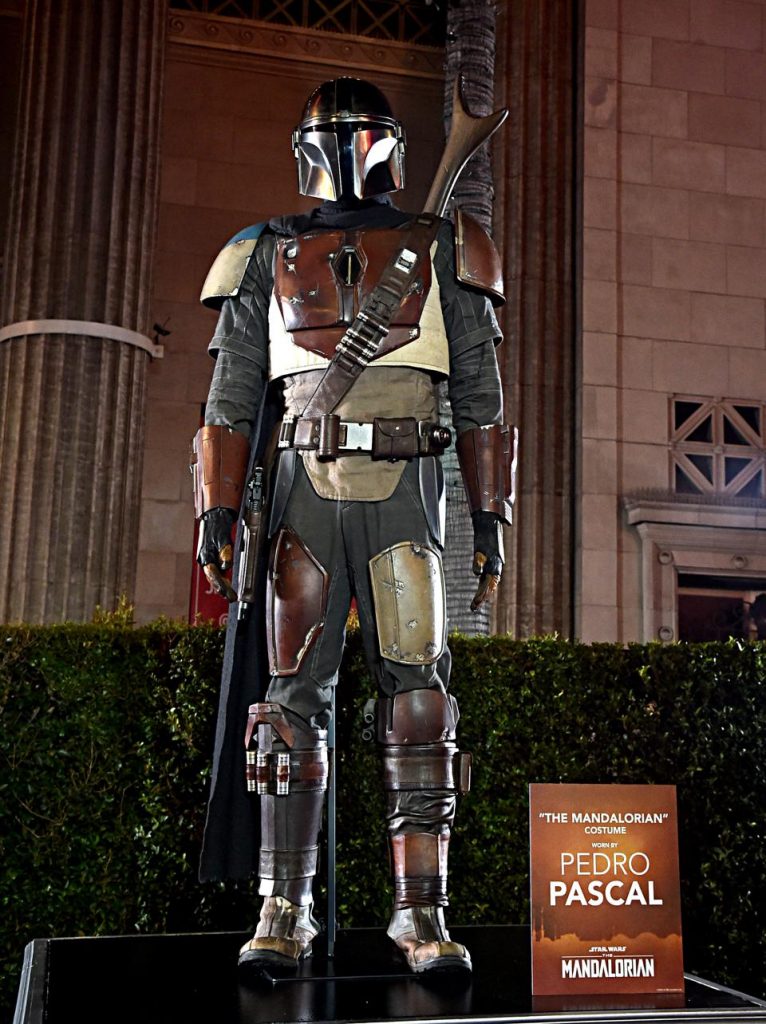
Custom Mandalorian Armor
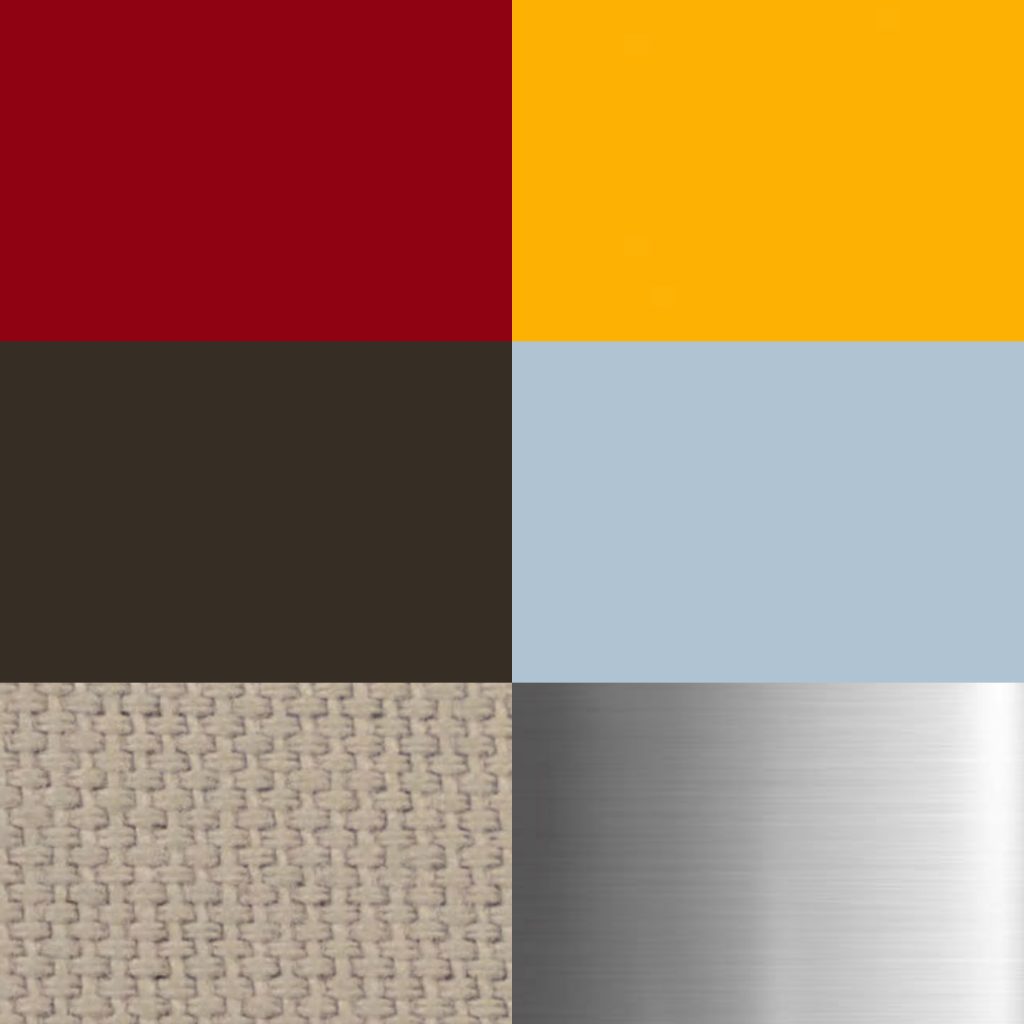
Yes, this is the project everyone is doing right now, and initially I was Luke warm on it. But when looking around at electronics one time, I found a wide angle laser pointer that looked like a scanner of some kind, and my mind just caught fire. I instantly went to more pages and started to find things like small pixelated OLED readout screens, weather detecting modules that can tell temperature, humidity, and altitude, and a million different kinds of LEDs and switches. I also ended up thinking of a mechanism for a grappling hook, my favorite piece of Mandalorian gear. If you get one of those retractable security badge reels with a metal line on it and secure it to a small hook, it can still function as a decoy grapple hook/choker, and it would totally sell. The issue of fitting to my body type and loosing weight come back into play here once again as my belly goes out much further than my upper chest, and while I am ok with a more outward pushing chest plate, the shaping is something to consider, and would probably involve a lot of specific work to make the plate somehow split and angle to my body without looking dissimilar to the chest plates used on screen, which I don’t want. The armor parts I chose were a blend of open source pieces made by other fans that I cleaned up or modified for my purposes in Tinkercad, but the chest, back, and shoulders were purchased on Etsy. The soft goods the armor itself is attached to are very important to get right as well, with some intresting textures, stitched linework, and layers. Luckily this material is canvas, a much more radially available fabric, but it requires precision to get the right clean and simplistic effect. The hardest part however, is the color scheme. That first costume we see in Mando Season 1 is unbeatable. I just can’t get it out of my head when sketching, it’s driving me crazy. They chose the best range of colors and shapes, and every single line, strap, buckle, dent, scrape, and application of paint is so perfectly placed. I didn’t want to be held captive by that design or be tied to the accuracy of that costume, but it keeps coming back to me over and over and over. If there was one piece I would directly want to take from that design though, it would probably be the tattered grey cape and scarf, but I would probably cut mine short, because as we know, NO CAPES. I drew up color tests and found some okay outcomes, but overall, I’m trapped in a pit of programing, sizing, and paint apps. ( I was going to include my armor and color sketches, but I got embarrassed about my drawing skills and decided not to. When I go further with the project I will post them, but for now, I’m a little shy)
So, these are a few of the projects that have been on my mind lately. While projects like my blaster and my bullwhip are great things to do at home and had plenty of resources available online, I wanted to show some of the thought I’ve put into projects I just haven’t quite been able to achieve yet for various reasons. I also just brushed the surface here, I have seriously thought of and planned out countless projects, an accurately scaled wood and paper replica of Aang’s staff from Avatar: The Last Airbender, a life sized electronic BD-1 from Jedi: Fallen Order, an in universe Star Wars MP3 player styled like a radio, repaints of various Transformers figures, a bunch of CAD modeling projects, and a whole lightsaber project involving aluminum milling and engineering I can barely comprehend right now. I’m looking forward to one day completing all these things, and with a second wave of the pandemic approaching, I’m curious to see where my learning will take me and what I will be able to build next.
Thanks so much for reading this page! Like I said in the beginning, this last year and a half has been tricky to say the least, and proving work you’ve done as an artist with no physical product has been a real struggle for me and many of my friends in the prop making community and other communities as well, especially as a young person trying to make your way into the industry. Without communities like the Replica Prop Forum being there to encourage my creativity and my search for a way to express myself through my craft, I think this period of my life would have been a lot harder, and I thank every single member of that community for their continued support. If you have interest in a far deeper dive into these some of these projects and an interest in seeing my thought process as I do research for my builds, you can check that out in the links listed below. Thanks again and I’ll see you next time!
Brass Cast Medallion Replica (My project notes and reference): https://www.therpf.com/forums/threads/brass-cast-and-gold-plated-potc-aztec-medallion-reference-help-appreciated.339693/#post-5206054
TomVDJ’s Gold Plated Medallion Replica (where I found the medallion replica and scorched the pictures): https://www.therpf.com/forums/threads/pirates-screen-accurate-gold-plated-aztec-gold-coin.215026/
JOi Emenator (only frequented, not the originator of the page): https://www.therpf.com/forums/threads/blade-runner-2049-jois-emenator.283474/
My Replica Prop Forum Account (where you can find this build and many others): https://www.therpf.com/forums/members/willrhami.205729/